Don’t you hate to dilly dally around? I sure do. I like to get to the point and down to business. I’m a no-nonsense kind of girl.
I think we’ve dilly dallied enough. You know you need to build your email list and now you know Mailchimp is the fastest and easiest way to get started.
So, let’s sign up for Mailchimp.
The best news you’ll hear today is that you can get Mailchimp for FREE. That’s right. You can have up to 2000 subscribers and send up to 12,000 emails each month before you’ll ever have to pay a dime. Don’t you love that?
Signing up couldn’t be easier.

{Updated for 2019}
Visit Mailchimp.com
When you get there you’ll see a screen that looks something like this.
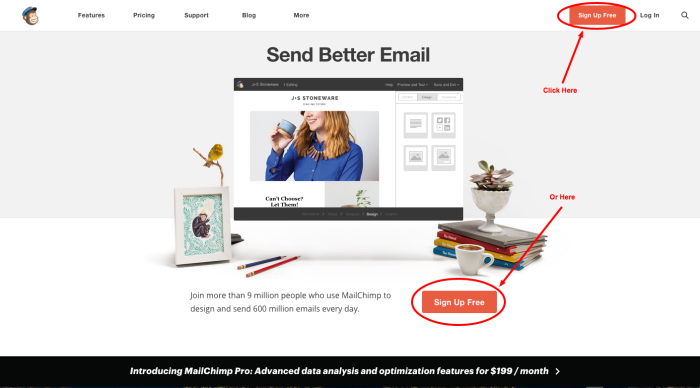
You can click on one of two buttons to sign up for FREE. Go ahead, click.
Create An Account
After clicking the sign up button you will be sent to a screen that looks like this.
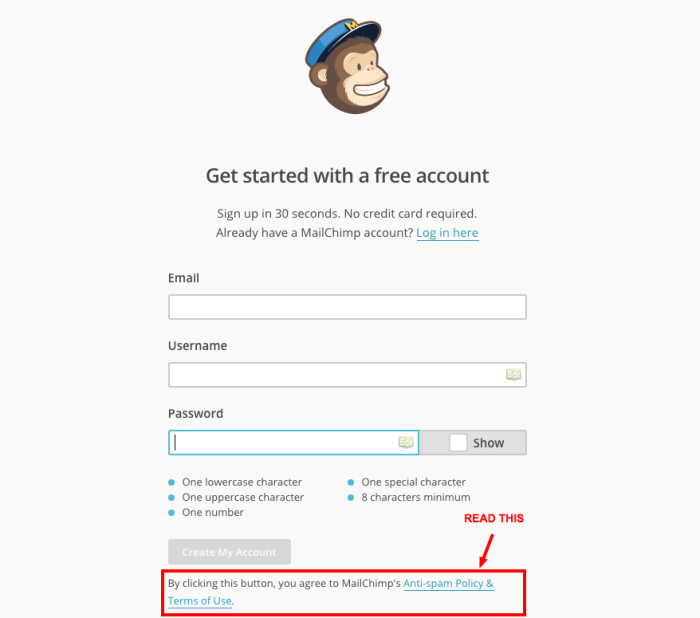
You will be asked for your email, name, and a password. There are some specific requirements for setting up your password so read them carefully. Don’t forget to store your password in a safe place.
Hopefully, you are using a password service. I recommend Last Pass.
Read the Anti-Spam Policy and Terms of Service (TOS)
Now, here’s where you’ll need to take a few minutes. I know it’s not cool to read the terms of service when you sign up for stuff online. I mean really, who does that? However, in this case you should. Email fraud is a big deal. By reading the TOS and the anti-spam policy of Mailchimp, you will educate yourself and be prepared for any eventualities that may occur.
Don’t be scared. The beautiful thing is that Mailchimp has done their homework. They know what it takes to protect you and your readers. So, there is nothing to fear. You can read the policies, learn what they say, and then we’ll move on. No fear.
When you read the TOS I recommend really reading numbers one through six and number 16. Feel free to skim the rest.
When you read number 16 click on the Spamhaus website link in rule number one. It’s a quick read, but one you need to know as a blogger.
Okay, done.
Complete the Account Creation Process
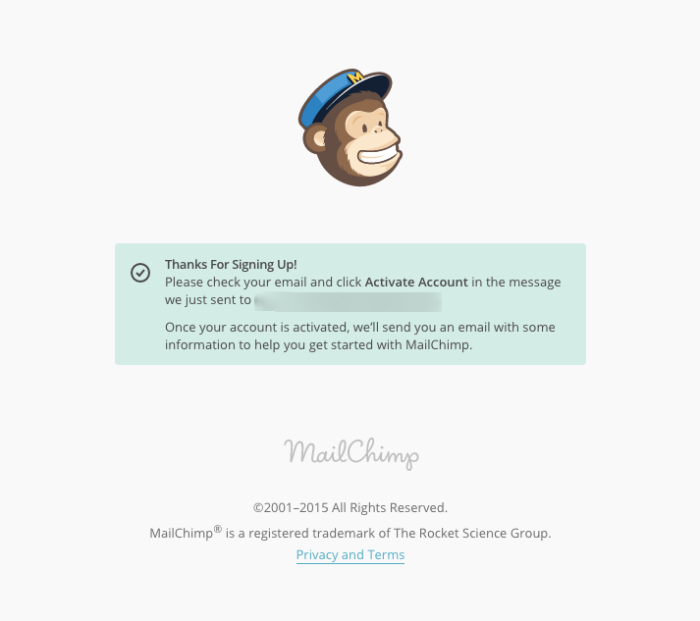
Now you can go back and click the button to create your account. When you do, you’ll get a message saying Mailchimp is going to send you a confirmation email to the address you used to set up your account.
Yay!
Go to your email and activate your account.
Getting Setup
After you activate your account, you will be sent to a screen where you can input the pertinent information Mailchimp will use to send your emails and manage your account.
This is a very important part of the process. Let’s take it one section at at time.
Part 1:
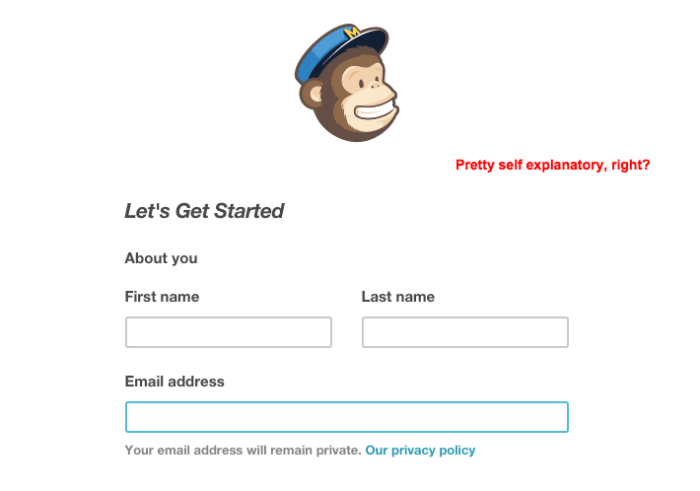
You can do this with your eyes closed, right?

CHIMP TIP
Your default FROM email address should be either a Gmail or self-hosted address from your blog/website. Do not use a Yahoo or AOL email address.
PART 2:
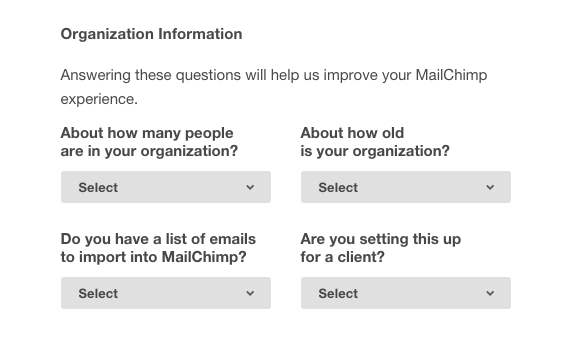
Three out of four of these are simple to answer.
You may have a Feedburner list or another email list you want to import into your new Mailchimp account. If you do, here are some great instructions on how to import subscribers to a list.
PART 3:
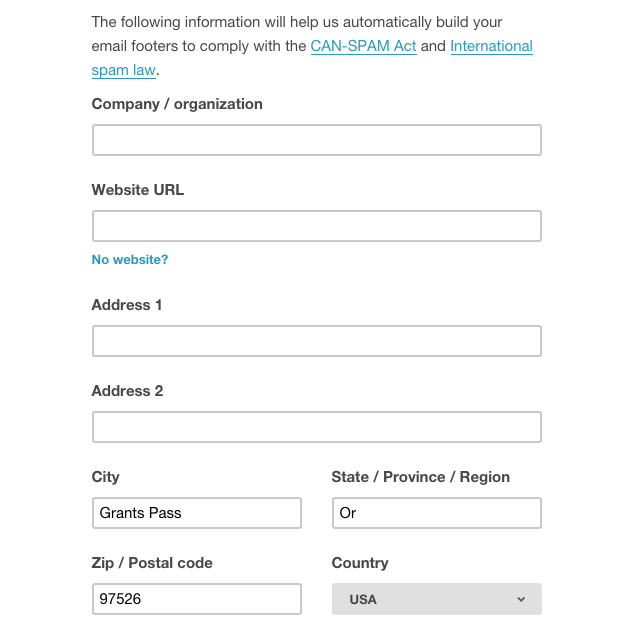
Okay, here’s where it gets a little cray cray. You MUST put down a REAL address in this box. I’m going to leave this to you and your ethics and morals. But know this, if you try to cheat the system and get caught, it will cost you $16,000. If you’ve got that sitting around, fine. If not, let’s think of some alternatives.
A. Use your home address – now before you freak out ask yourself, do you even have any subscribers yet? If you don’t no one is coming to your house. If you do, does anyone really want to come to your house?
I’ve used my real address in the past and no one has ever showed up at my doorstep. No one has ever sent me anything good either, like a coffee card or a box of treats. Hint. Hint. I know you’ve got your own thoughts on security and privacy so I’ll leave it up to you to decide.
B. Use a P.O. Box – you can always pay to have a postal box either through the USPS or a private mail center. They range in price, but are a good option.
Consider sharing the cost with other bloggers in your area. Here is another great reason to get out and do some networking.
C. Use an alternative address – If you are associated with a business or organization, legitimately, use that address.
Regardless of the option you choose, just know you must provide a physical address in order to be in compliance with the CAN-SPAM Act. You also don’t want to part with $16,000.
PART 4:
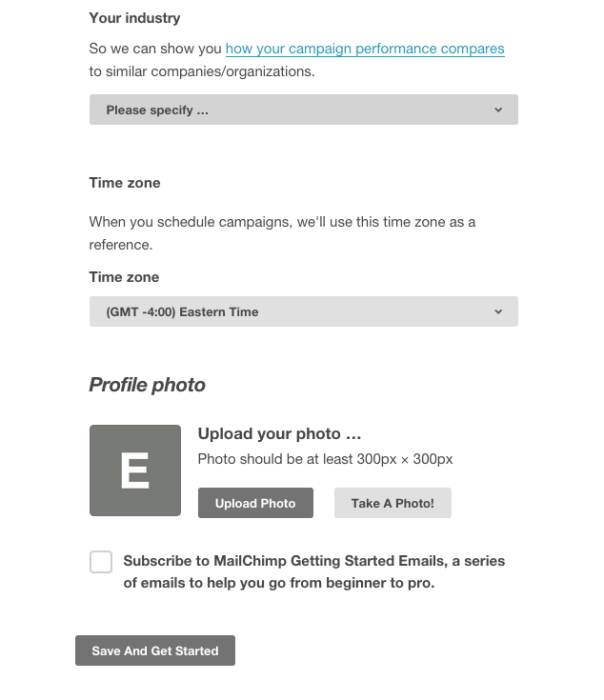
This final section has a couple of important pieces. First, is choosing your industry. The reason this is important is because Mailchimp will show you how your mailings rank in opens and clicks. This can be very helpful as you begin to hone your newsletters to your audience. Knowing what the industry averages are will really help you to choose the right content for your audience.
Don’t get too stressed out about this part though. You can change it at any time. If in doubt, just choose “Other.” I do recommend clicking the blue link and reading the article provided by Mailchimp. It has a ton of insights about the different results seen in each industry.
Second, be sure to choose the right time zone. This matters for sending out your emails. You want them to go out at the proper time and to be able to control when people see them.
Next, use your social media gravatar for your photo. Be consistent across your platforms. That includes Mailchimp.
Finally, sign up for the emails provided by Mailchimp. Never pass up free info or help. You need have to keep them forever, but when a company offers to help you get off to the right start with their product or service, jump on it.
Whew! You did it. When you click the Save and Get Started button you will be sent to a new screen, the Dashboard.
I think that’s enough for today. Don’t you? I’m so proud of you for moving forward. Way to go!
#YouCanDoThis

[mc4wp_form id=”11788”]
Leave a Reply